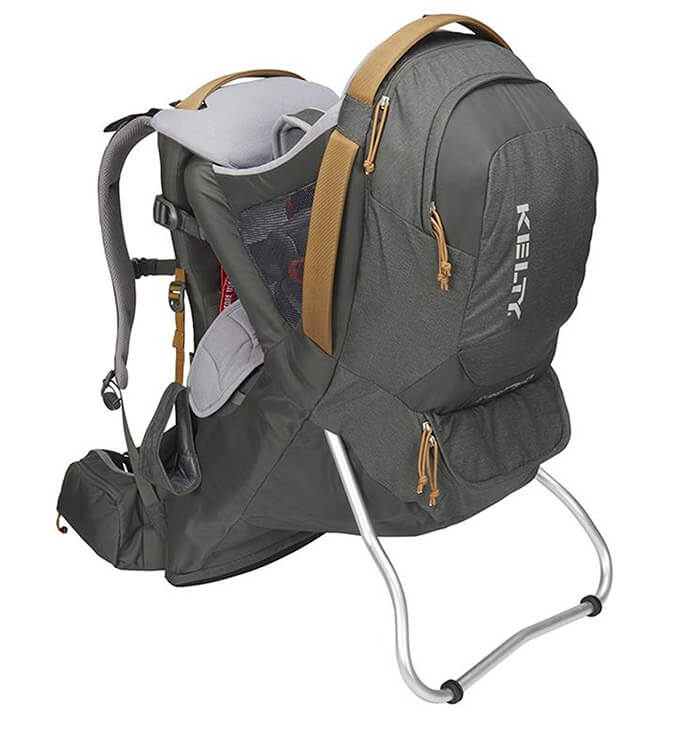
The Kelty Journey Perfectfit Child Carrier Review
Kelty has long been a trusted name in outdoor gear, and their new Child Carrier is no exception. The Kelty Journey PerfectFIT™ Suspension System easily adjusts to fit both mom and dad so you can both comfortably share the load, and the integrated sunshade is a lifesaver on sunny days.
The 5-point safety harness and padded aluminum roll cage keep your little one safe and secure on any terrain, while the wide seat base and adjustable foot stirrups mirror your kids natural rest state. Plus, the reservoir sleeve ensures that both parent and child stay hydrated along the way. And when accidents happen (because let’s face it, they always do), the zippered dirty compartment wipes clean with ease.
Finally, multiple grab handles make it easy to lift, shift, and set down the carrier – even when you’re by yourself. Plus, the large zippered pocket with internal stretch pockets is perfect for storing extra layers, toys, and anything else you may need.
Should I buy Kelty Journey PerfectFIT Elite?
Here’s what you need to know about this popular carrier before making your decision.
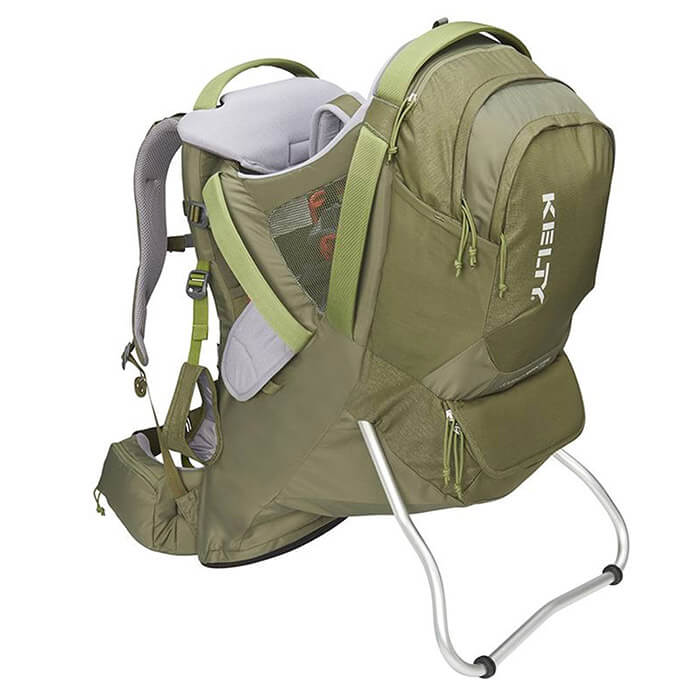
The Kelty Journey PerfectFIT Elite is a great choice for parents who want a comfortable, versatile carrier. It has a padded hip belt and shoulder straps, and can be adjusted to fit a range of body sizes. The child carrier also has a sunshade and rain cover for inclement weather, and can be easily converted into a backpack for hiking or other activities.
If the budget allows it, then go ahead and buy it, but if money is tight, there might be other less expensive options for you.
Specifications & Details
Volume: 1587 in3
Weight: 7 lbs 4 oz
Torso Fit Range: 15.5 – 21 in
Dimensions: 28 x 15.5 x 22 in
Maximum Weight Load (Child + Gear + Pack): 48.5 lbs
Child Weight: Minimum: 16 lbs Maximum: 40 lbs
Hydration Compatible: Yes
Sunshade Included: Yes
Exterior Pockets: 7
Kelty PerfectFit Child Carrier How To Set It Up:
Here is a quick and easy process that allows you to achieve the best fit for both mom and dad with all the straps loosened.
Put the pack on, and clip the hip belt on first. It should be directly over your hip bones. Now, snug it up. Next; adjust your shoulder straps by pulling the webbing straps down forward. The top of the strap should wrap over your shoulder by about two inches. Now, snug up your low lifter straps, clip your sternum strap and find your perfect fit.
Next, let’s get the cockpit ready for your infant. Pop out the kickstand and place the pack firmly on the floor or firm level ground. The next step is properly tightening the frame to ensure a safe journey. Pull down on the orange straps labeled titan before use.
Remove any excess webbing and tighten the straps on the side of the frame. You want to adjust the seat height, so your child’s chin is level with the drool pad. Make sure to follow these steps before each use if you need to move the seat up. It’s as simple as grabbing the handle and pulling it up to the desired height. To lower the seat height, lift up the bottom of the orange buckle behind the child’s headrest and push the seat down simultaneously.
How do you adjust a Kelty kid carrier?
Once the seat is at the right height, loosen and unbuckle all the straps. Now that you’re ready to load up your baby, ensure that both legs go through the leg holes and under the padded waist belt. Next, place the shoulder harness over your child’s shoulders and attach the orange buckles. Simply tighten the shoulder straps and pull up the webbing loop. The strap should lay smoothly over your child’s shoulders with room for a finger to slide in between.
Now adjust the waist belt by pulling these straps forward. The waist belt should be tight but comfortable at the child’s waist. The waist belt should be tight but comfortable at the child’s waist. Here you have it, a simple and easy steps to set up you Child carrier in a snap.
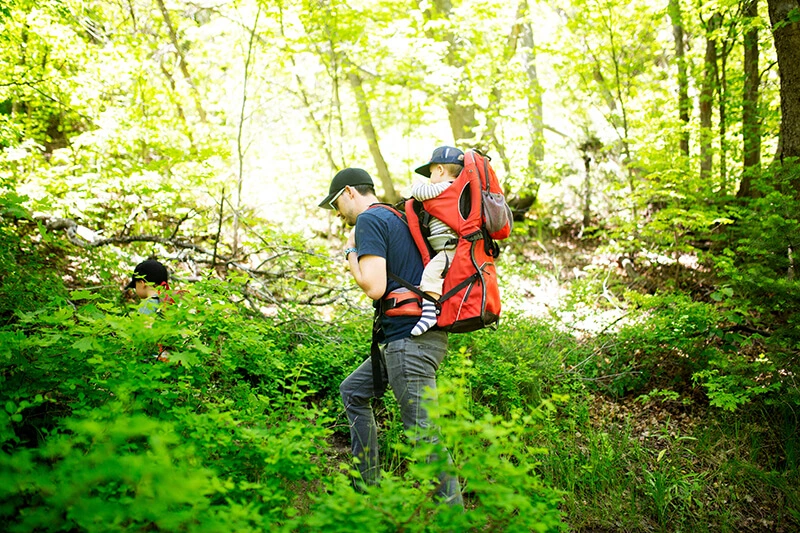
My Verdict:
I’ve hiked for miles with this baby carrier and I’m happy to report that it’s comfortable. If you’re planning on using the sun shade, though, I suggest you buy the next model up. The sun shade is built into that one and you have to buy it separately for this carrier, which is a total bummer. I can’t tell you how many times I’ve gotten out to the trail only to realize I forgot the shade at home because there’s no pocket to store it in. Also, if you want a water bladder, just spring for the most expensive option. It comes with the built-in shade and the water bladder, which makes it totally worth it.